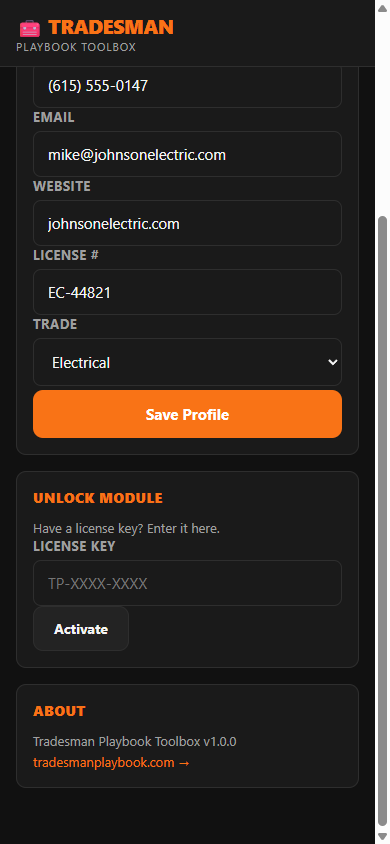
The first time you open the Toolbox, you'll land on the Settings screen. Fill in your business details here — they appear on every Job Report, Estimate, Invoice, and PDF you generate.
- 1Enter your Business Name
- 2Add your Address, Phone, Email, Website
- 3Enter your License # (optional but recommended for professionalism)
- 4Select your Trade from the dropdown — this powers the Knowledge Engine
- 5Tap Save Profile
You can return to Settings any time from the bottom navigation bar (⚙ Settings) to update your profile or enter a license key.
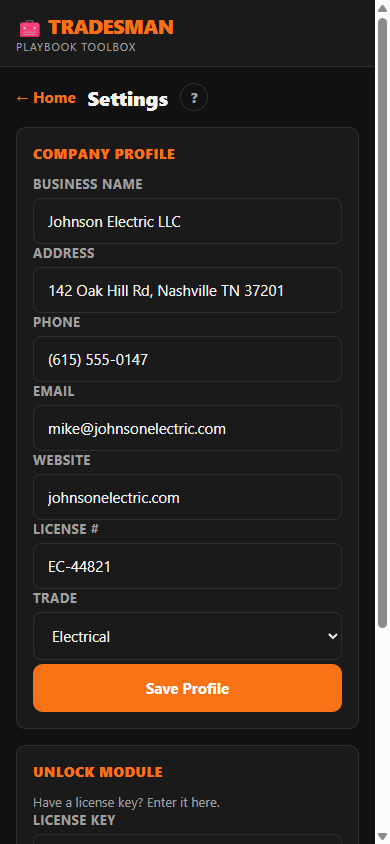
Every job in the Toolbox follows a simple 7-step flow. You can move forward and back freely — nothing is saved until you hit Save at the end.
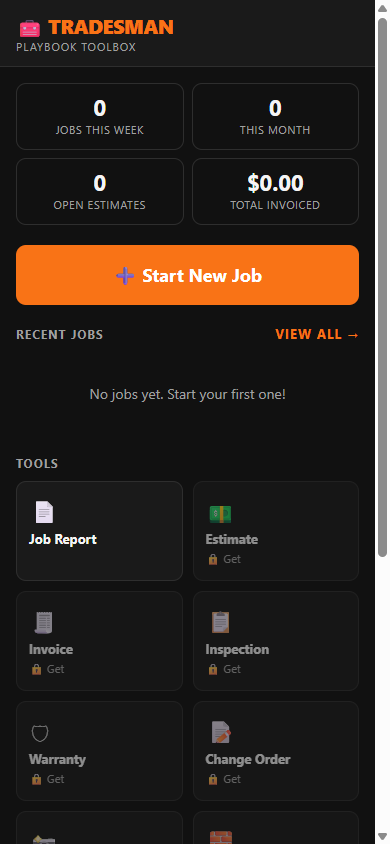
Start by entering the customer's details. Type a name in the search bar to find an existing customer — their info auto-fills. Or fill in the form to create a new customer record.
- 1Name* — required
- 2Phone — for sharing the PDF via SMS
- 3Email — for sending the PDF via email
- 4Address — prints on the job report header
- 5Scheduled Date — sets the job on your Schedule
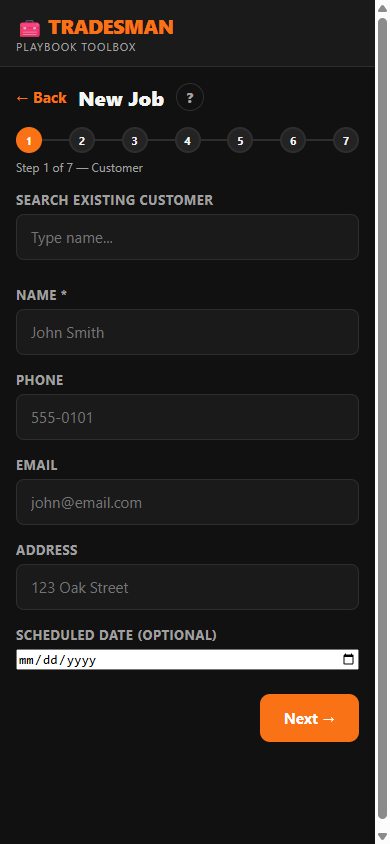
Select the type of document you want to generate for this job. Job Report is always free. Other modules require a one-time purchase — tap Get to go to the Tool Store.
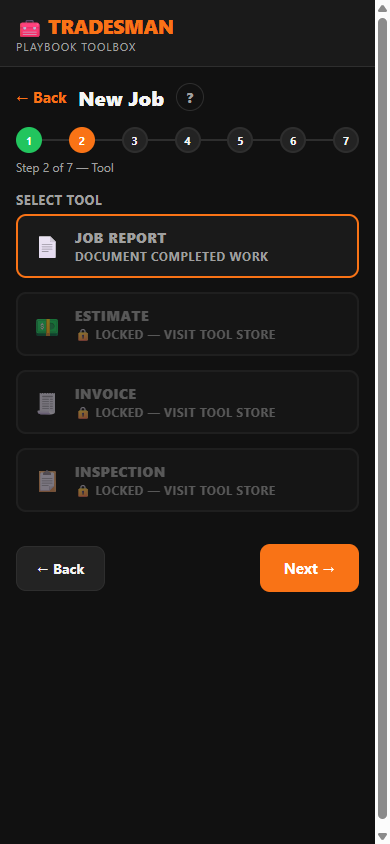
Enter the job description manually, or use the built-in ⚡ Quick Fill (Knowledge Engine) to populate professional field language in one tap.
- 1Problem Reported — what the customer called about
- 2Work Performed — what you did on site
- 3Recommendation — follow-up advice for the customer
- 4Warranty — your labor/parts warranty period
To use the Knowledge Engine: tap ⚡ Quick Fill to expand it, select your Trade, Category, and Issue, then tap Apply Template. All three text fields fill instantly with professional trade language.
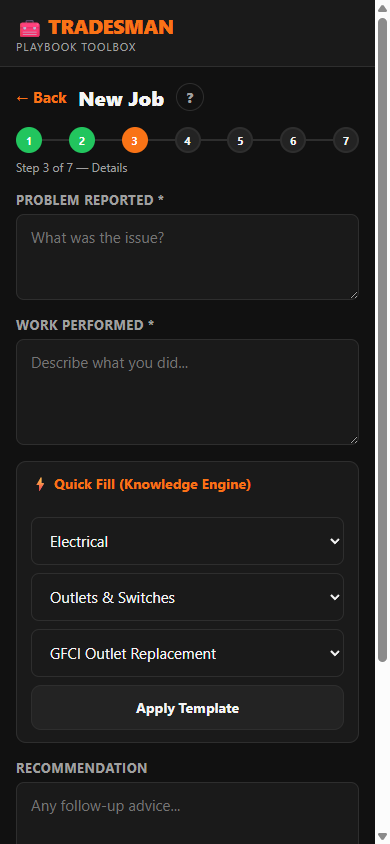
Add photos directly from your phone camera or gallery. The Toolbox organizes them into Before Photos and After Photos sections automatically.
- 1Tap + Add Photo under Before Photos — shoot or pick from gallery
- 2Do the work
- 3Tap + Add Photo under After Photos to document the result
Photos are stored locally on your device and embedded in the generated PDF.
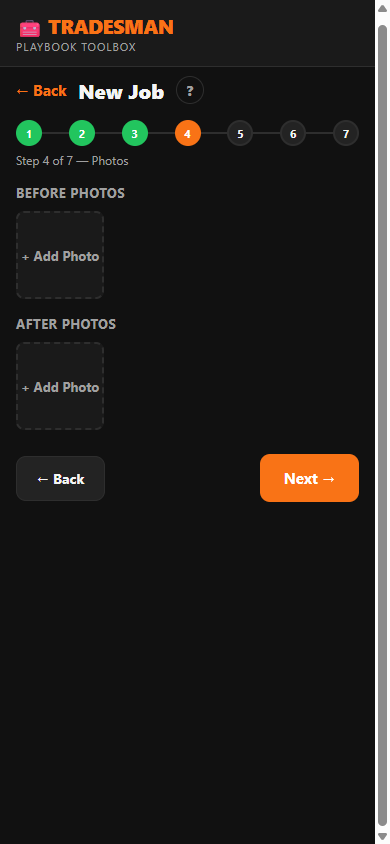
List every part or supply used on the job. The Toolbox calculates the material total automatically and includes it in the PDF.
- 1Tap + Add Material
- 2Enter the item name, quantity, and unit price
- 3Add as many rows as needed
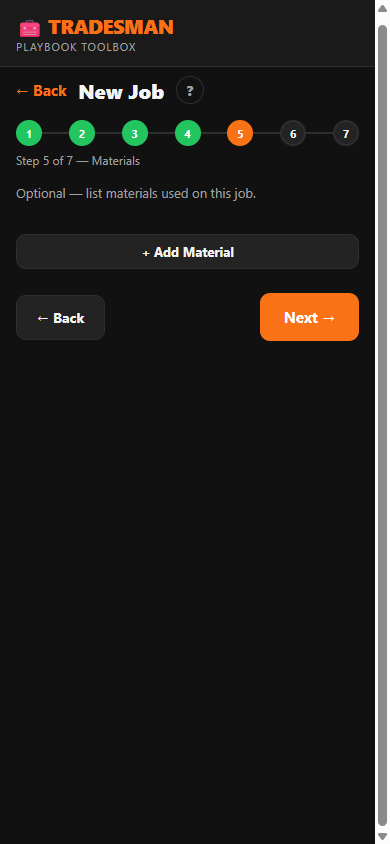
Hand the phone to your customer to sign, then sign yourself. Both signatures are embedded directly in the PDF.
- 1Customer Signature — draw on the signature canvas
- 2Technician Signature — your own signature
- 3Tap 📄 Generate PDF — creates the full branded report
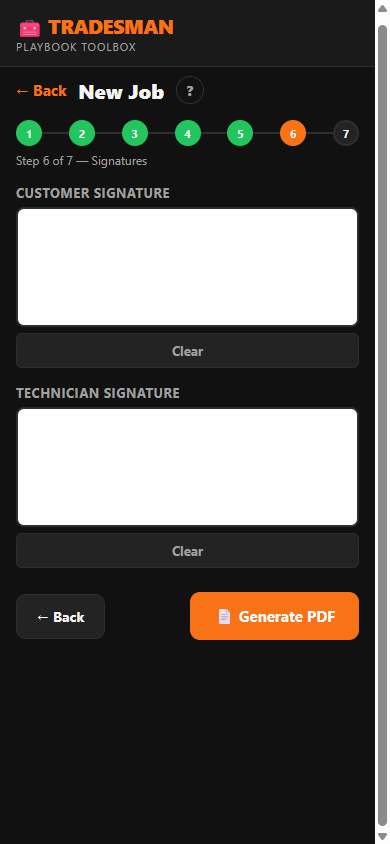
The final step shows a full summary of the job. From here you can share the PDF immediately or save without sending.
- 1Review the job card — customer, tool used, materials total
- 2Tap 📤 Save & Share PDF — opens your phone's share sheet (SMS, email, WhatsApp, etc.)
- 3Or tap 💾 Save Without PDF — saves the job record for later
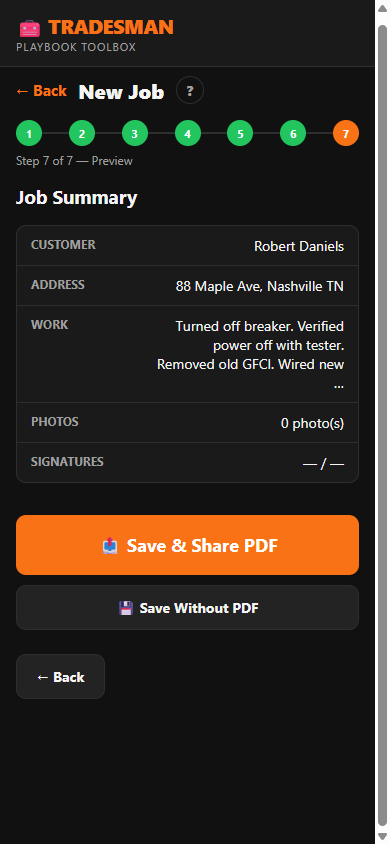
The Schedule screen shows every job that has a Scheduled Date set in Step 1. Jobs appear sorted by date so you can see what's coming up at a glance.
- 1Set a Scheduled Date when creating a new job (Step 1 — Customer)
- 2Open 📅 Schedule from the bottom navigation bar
- 3Upcoming jobs appear under UPCOMING sorted by date
- 4Tap + Schedule New Job to quickly jump to the new job flow
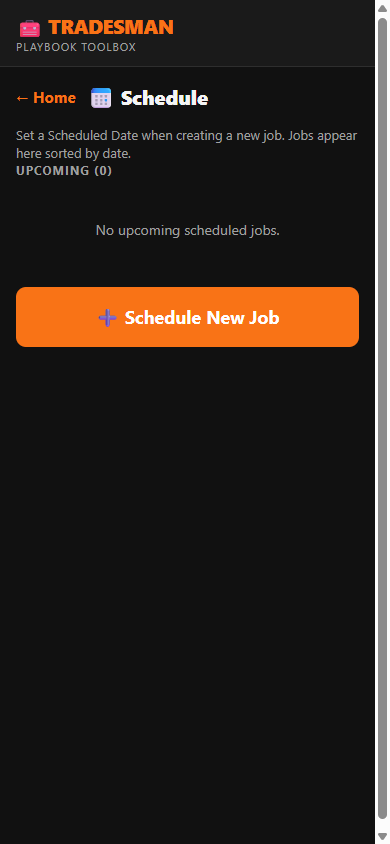
The Customers tab shows every customer you've added. Tap a name to view their full job history — all previous reports, invoices, and estimates linked to that customer.
- 1Tap 👤 Customers in the bottom nav
- 2Your full customer list appears, sorted alphabetically
- 3Tap + New to manually add a customer
- 4Tap any customer to view their job history
The Toolbox ships with Job Report free forever. The remaining modules are unlocked with a one-time license key purchase. Each module is a standalone document generator that plugs into the same 7-step job flow.
| Module | What it does | Price |
|---|---|---|
| 📄 Job Report | Document work, collect signatures, share branded PDF | FREE |
| 💵 Estimate Generator | Professional quotes that close more jobs — line-item breakdown, your logo | $19 |
| 🧾 Invoice Generator | Bill clients and collect faster — invoice number, due date, totals | $19 |
| 📋 Inspection Report | Systematic inspection with trade templates — PASS/FAIL checklist per system | $19 |
| 🛡 Warranty Certificate | Build trust and get more referrals — branded warranty card for the customer | $9 |
| 📝 Change Order | Stop doing free work — every scope change documented and signed | $19 |
| 📸 Photo Report | Photo-only report — before/after documentation without full job details | $9 |
| 🧱 Material Calculator | Quantity + markup = right price every time — stops undercharging on materials | $9 |
| 📈 Profit Calculator | Know your real margin after every job — labor + material + overhead | $9 |
| 🔔 Maintenance Reminder | Schedule and log recurring maintenance visits — HVAC, filters, inspections | $9 |
| 📃 Contract | Simple service agreements — scope, timeline, payment terms, signed on-site | $9 |
| 📅 Daily Log | End-of-day job diary — track crew hours, site notes, and progress photos | $9 |
Every paid module is unlocked with a one-time license key. No subscription, no account needed.
- 1Tap any locked module on the Home screen or visit the 📦 Tool Store
- 2Tap the orange $XX → button — opens the Gumroad purchase page
- 3Complete your purchase — you receive a license key by email (format: TP-XXXX-XXXX)
- 4Open ⚙ Settings in the Toolbox
- 5Scroll to Unlock Module → enter your key in the LICENSE KEY field
- 6Tap Activate — the module unlocks instantly, no internet required